Recently I had a discussion with an artist about Physically based rendering and the normalized BlinnPhong reflection model. He seemed to have some trouble visualising how it works and the impact it might have in-game.
So I dug into my shader toybox, where I keep lots of them in there and occasionally take them out to play, found a normalized BlinnPhong one and modified it a bit so as to add “switches” to its various components. Then I gave it to him to play with in FX composer and get a feeling of the impact of the various features. After a while he admitted that it helped him understand how a PBR-based reflection works a bit better, and also that a normalized specular model is better than a plain one. One artist down, a few thousands to convert!
I thought I might share it here as well in case someone else finds it useful (complete FX Composer project, fx shader probably usable in Maya). To make the post suitable for non-graphics programmers I have added lots of images and kept code snippets and equations to a minimum. If you are an artist reading this you can safely ignore the more technical parts in the same manner you deal with them in the morning scrums, i.e. glazed eyes, thinking about a movie 🙂 etc.
In all the following examples I assume that we work in linear space. If you don’t know what this is or why is it important you should read John Hable’s excellent presentation.
Starting with the most significant shader compoment, specular normalisation. When on (NormaliseSpecular=1), the specular term will be “normalised”, i.e. multiplied, by (specularPower+2)/8. (Note: in case you use glossmaps, I explain how to map gloss values to specular power in a bit). In layman’s terms normalisation means that the higher the specular power the brighter the highlight will be. This ties with the notion of “energy conservation” as well which says that the light energy reflected off a surface must always be the same, regardless of how shiny or rough the surface is and equal to the incident light energy. To visualise this consider a mirror-like, shiny surface. In this case the specular highlight will be very tight and bright, just an image reflection of the light source really. On the other hand consider the reflection of the light source on a rough surface. It is much broader and less well defined, as well as a bit fainter, as more light is scatter towards many directions and not just towards the viewer. The following two images demonstrate this (reproduced from Physics and Math of Shading lecture, Natty Hoffman and “Real-Time Rendering, 3rd Edition”, A K Peters 2008). The left, mirror-like surface reflects a sharp, bright image of the light source, while the right rougher surface a blurrier, less bright reflection.
Normalising the specular has a similar effect which becomes apparent in the following two screenshots (left image normalisation ON right image OFF, both with low specular power)
Again, left image normalisation ON right image OFF, both with high specular power this time.
In the left hand side images as we increase the specular power the specular highlight becomes “tighter” and brighter as well, something that does not happen in the right hand side images.
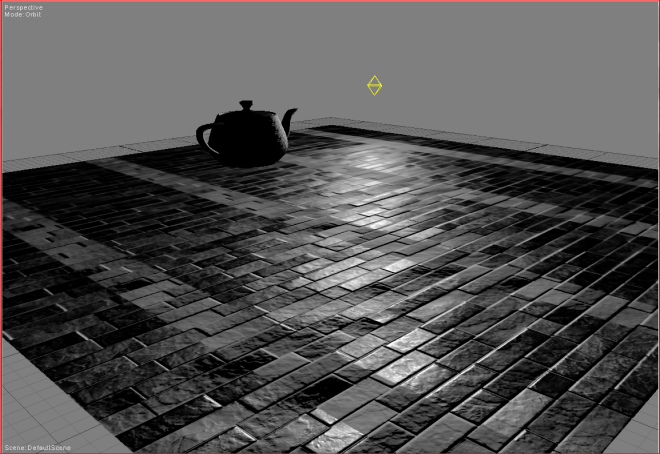
In nature even matte surfaces exhibit a degree of specularity, and this is reflected in the above model. This means that you can never eliminate specular reflections using a normalised reflection model like this. In the following image I’ve painted a few black stripes in the glossmap and I am not rendering the Diffuse term (SpecularOn=1, DiffuseOn=0).
Specular reflection is still apparent, although very rough and without much directionality as you move the camera around, even in the completely black glossmap areas. This is because even if specPower is zero, the normalisation term we have used (specPower+2)/8 is 0.25 at a minimum.
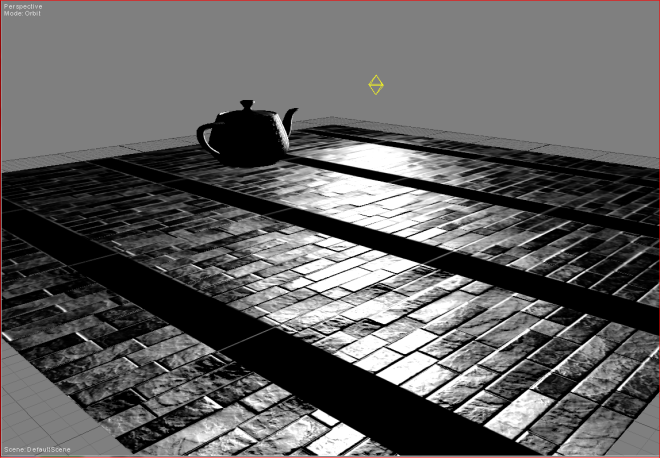
I’ve come to realise though that artists are often uncomfortable with this idea, wanting to have full control over where glossiness is applied, asking essentially for a specular mask. I did a quick experiment on whether it is possible to use the glossiness in the texture map to mask specular light, and that amounted to normalising with specPower (as opposed to (specPower+2)/8) only. This way one can mask specular using the glossiness but personally I am not thrilled about the results, it breaks every notion of physically based rendering we tried to establish and will require reworking of the gloss maps:
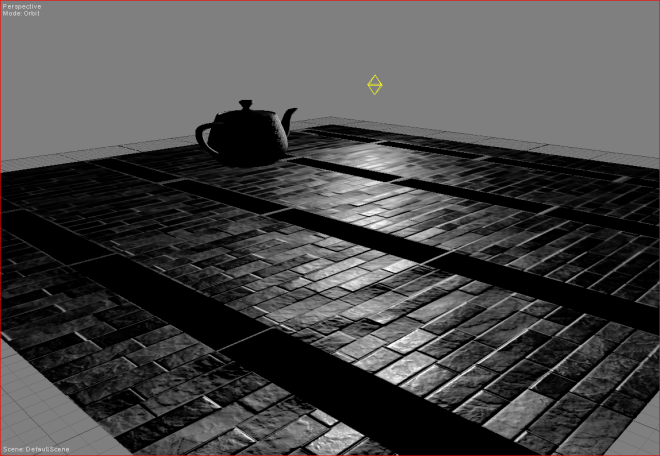
If the artist threatens to quit without a specular mask though, and you want to keep the artist, then I’ve found that a good compromise is to keep the reflection model normalised as is and use the gloss value of zero as a mask (i.e. if gloss == 0 do not apply specular, if gloss > 0 then apply).
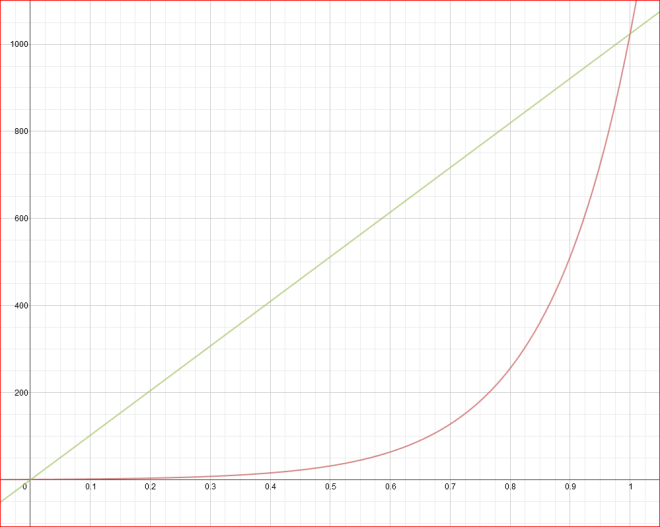
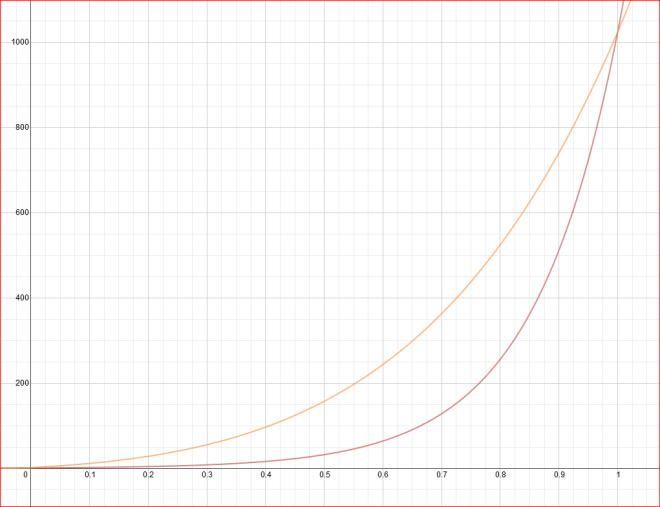
Typically we use a gloss map to drive the specular power; this helps create more interesting materials with local “roughness” properties (i.e. a partly wet surface or a partly rusted metal etc). The gloss map value, typically in the 0-1 range must be mapped to something larger to be used a specular power. In many cases we can use a pow function for this mapping (for example specPower = 2^(gloss*SpecularRangeScale)), but linear mapping (specPower = gloss*SpecularRangeScale) could potentially be used as well. The main difference is that the distribution of the pow range value favours (i.e. adds more resolution to) smaller specular power values and it is often preferable (green line linear, red line pow mapping, for SpecularRangeScale=1024 for the first and SpecularRangeScale=10 for the second case)
The SpecularRangeScale constant in the shader allows to set the maximum specular value the gloss value will be mapped to and the SpecularPowerRangeOn mode switches between power (left) and linear (right) mapping:
Something that got me thinking was that since artists author glossmaps in much the same way they do albedo maps and since they are presumably saved with the same sRGB profile, we should actually linearise sampled gloss values like we do for albedo. A quick flick (LineariseGlossiness=1) between gamma compressed and linear gloss values reveals the impact gloss linearisation has on the specular (using SpecularPowerRangeOn=1, i.e. a power gloss mapping. Left image linearised gloss, right image gamma-compressed gloss).
Although in both cases we use a power mapping for gloss to specular power conversion (SpecularPowerRangeOn=1), if we don’t linearise the gloss and make the assumption that is comes compressed ( i.e. gloss^(1/2.2) ) from the texture, then this is what the mapping looks like (orange line), compared to linear gloss mapping (red line).
In the gamma-compressed gloss case, the specular increases at a greater rate which makes the surface shinier more quickly, compared to the linearised gloss mapping which the increase is slower, something that is echoed in the previous two surface screenshots. If nothing else, using gamma-compressed gloss values will make creating and editing of gloss maps a bit harder.
Another feature demonstrated by this normalised Blinn-shader model is Fresnel reflection. Fresnel makes the surface reflect more light towards the viewer at glancing angles than when viewing the surface “vertically”. Again this has physical meaning; this is how light behaves in the real world as well. Note, in this shader I am using this approximation of Fresnel: “SpecularColour + (1 – SpecularColour ) * pow( 1 – LdotH , 5)”, where L is the light direction and H the half vector, which is more suitable for Microfacet BRDFs like the BlinnPhong (as explained here).
This behaviour is demonstrated in the following two screen shots, isolating the Fresnel factor from the total specular calculation (FresnelOnly =1):
The right image, with the glancing angle viewpoint, exhibits a stronger reflection which shifts noticably towards white as well. In theory Fresnel breaks the energy conservation rule of Physically based rendering, but since it looks better we accept this concession!
Fresnel can also be parameterised to express another characteristic of a material, its specular colour. For example metals have a distinguishing specular colour of high intensity which gives them their characteristic look (gold looks different to steel because of that for example). Non metals (rock, plastic etc) have a monochrome specular colour of low intensity (from “Real-Time Rendering, 3rd Edition”, A K Peters 2008).
In the shader you can change the Fresnel specular colour using the SpecularColour constant.
The impact of Fresnel (FresnelOn=1) when combined with the specular term is visualized in the following screenshots. In this example I am modelling rock so I use a monochromatic Fresnel specular. I also don’t render Diffuse to make the effect clearer.
The image on the left (Fresnel on) exhibits stronger reflections at glancing angles that the one on the right which does not use Fresnel.
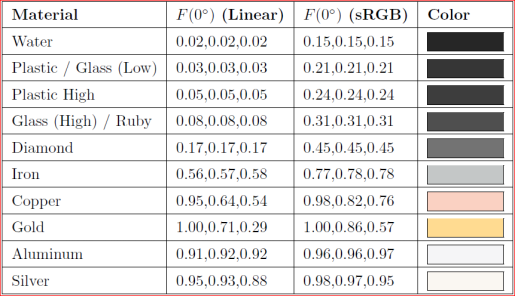
In contrast to non-metals, metallic surfaces have coloured specular and no diffuse reflection at all. We can emulate this in the shader by set a “metallic” specular colour in the SpecularColour constant, say gold, from the above table and switch Diffuse off (DiffuseOn=0):
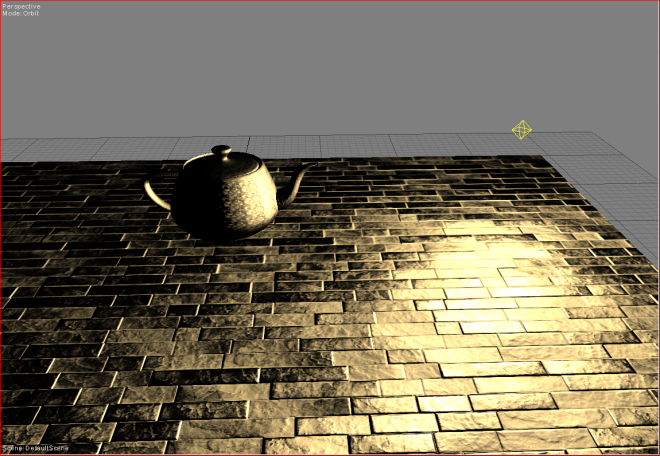 Although the material reminds us of gold, it appears too dark and it feels wrong and underlit. This is because, since they lack diffuse reflection, the colour of metals comes solely from environmental specular reflections. Activating the environment cube map in the shader (EnvironmentMapOn=1) we get a much better looking and more convincing “gold” material:
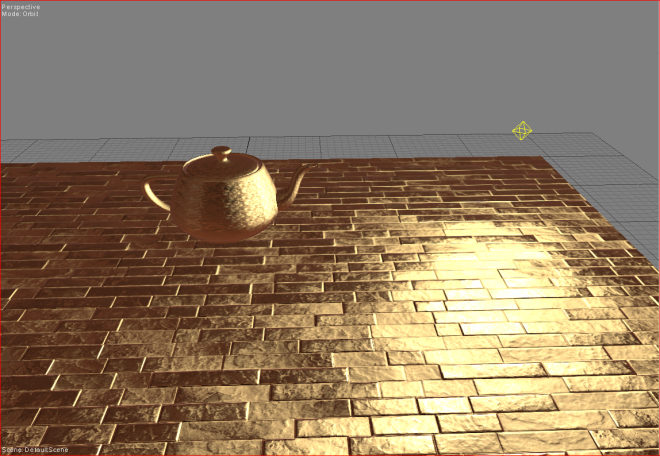 The cubemap is preblurred as descibed here, and I have tied the glossiness to the cubemap mip level, so the glossier (i.e. the more reflective) the surface, the higher resolution the environmental reflections (left image low gloss, right image high gloss values).
Just for fun and to demonstrate the amount of control and flexibility one can achieve in material parameterisation, I tweaked the gloss map a bit to include constant gloss values per brick.
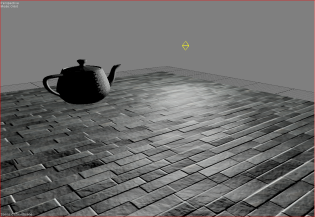
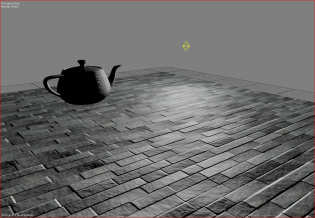
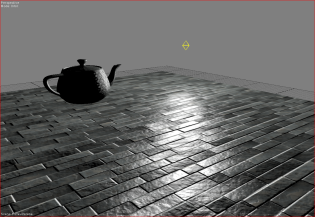
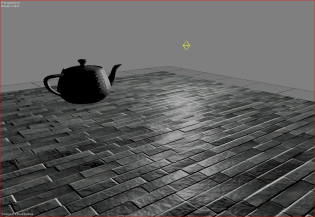
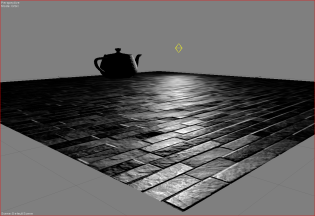
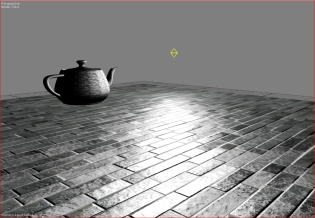
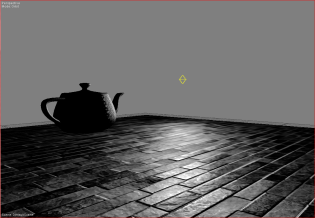
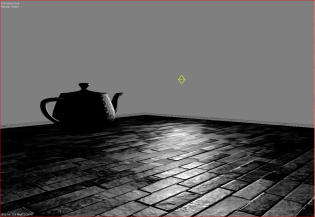
Another characteristic of a PBR reflection model is that, along with the diffuse (typically Lambert) term, we multiply the specular by NdotL as well. The official explanation is that we do this because the NdotL is part of the lighting equation and not of the reflection model so it should be applied to both terms. In practical terms the impact this has is the following (left image modulated by NdotL, right image not modulated):
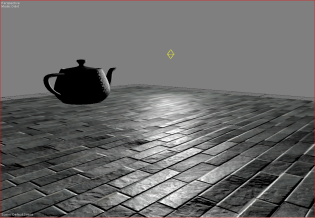
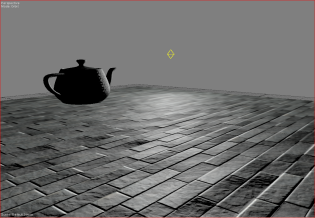
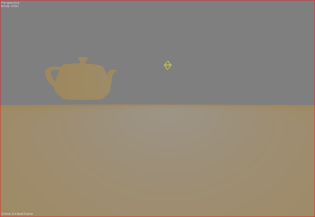
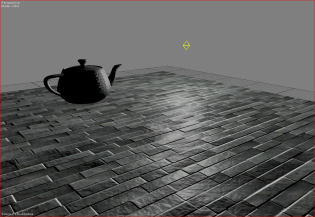
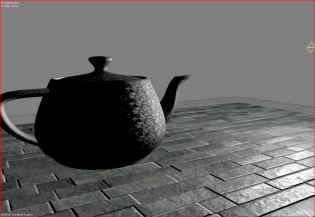
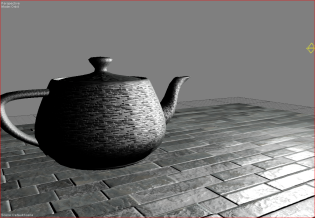
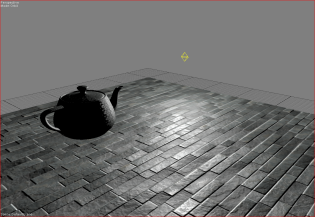
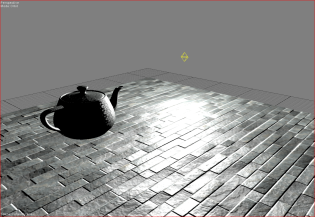
It is also interesting to focus on the teapot:
In the second screenshot, due to normal mapping, the surface of the teapot away from the light seems to catch specular highlights. In the first screenshot those highlights go away.
When using a normalised reflection model it is expected for the total reflected radiance can reach values above 1 (and appear to burn-out), so it is recommended that it is combined with a tonemapping solution (and HDR render targets in case you are caching the lighting calculations). As an attempt to visualize the impact tonemapping might have to the specular light I added a simple, white-preserving, Reinhard operator which can be switched on (left image TonemappingOn=1) and off (right image TonemappingOn=0) with tweakable exposure (HDRExposure) and white value (HDRWhitePoint):
Bear in mind that the real impact will depend on the actual tonemapping operator you use in-game, whether it uses autoexposure etc.
Since this was an “educational” shader about normalised specular I thought I might as well go wild and implement specular antialiasing. One of the major causes of specular aliasing is normalmap sampling/filtering. We typically mipmap the normalmaps to speed up filtering at distant areas, but this has the effect of “averaging” the normals in the distance, reducing the normal resolution and making the surface “flatter” and the specular highlights “tighter”. There are a few ways to combat specular aliasing, one of the easiest ones is Togsvig Antialiasing. In short what this does is to get the “averaged” normal vector from the current mip and measure how far off it is from the ideal “normalised” normal of unit length. Then it uses this difference to adjust the specular power so that the specular highlight remains broadly the same across all distances.
Specular AA makes a huge visual difference, especially when the camera is moving, but it is visible in the following image as well (left with specular AA, right without):
And that is it! I hope others will find this shader useful as well. To get a better understanding of the impact of the various components one should try the shader and play with the switches and shader constants. A word of warning, this is not a production-ready shader, it was coded in such a way so as to allow switching components on and off in the runtime, something you wouldn’t normally do. Have fun!
The texture assets used in the above examples are courtesy of the excellent Käy’s Blog.
If you are interested in learning more about Physically based rendering there are lots of good sources on the Internet you can start with these (I have it in the back of my mind to create a more complete list):
- SIGGRAPH 2010 Course: Physically-Based Shading Models in Film and Game Production
- SIGGRAPH 2012 Course: Practical Physically Based Shading in Film and Game Production
- SIGGRAPH 2013 Course: Physically Based Shading in Theory and Practice
- Sebastien Lagarde’s blog has lots of interesting articles on PBR, recommended reading
- Tri-Ace’s work on PBR.
- Not directly PBR related but very good reading about specular AA: Specular Showdown in the Wild West, as well as the Rock Solid Shading presentation.
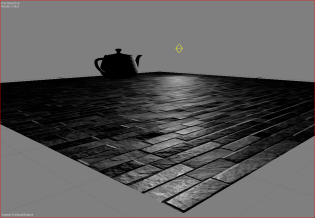
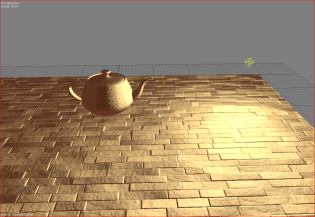
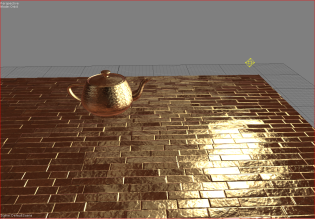
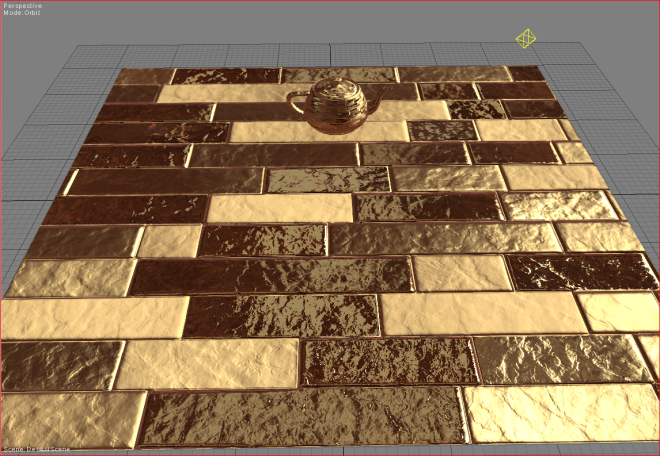
Thanks for the shout! You’ve got some cool results!
Cheers, Käy
Nice post! It doesn’t sound like you have specular color maps in the shader, only gloss maps? With a spec color map the artists could turn specular off by painting it black, rather than having the gloss == 0 hack. Also, spec color maps are needed to represent surfaces that have multiple materials (e.g. metal and plastic) in the same texture.
Also, Fresnel doesn’t violate energy conservation (how could it? Real-world surfaces have Fresnel, and they conserve energy). It increases the total amount of light reflected, but consider that if the spec color is (1, 1, 1) everywhere then Fresnel has no effect, and in that case you reflect exactly as much light as you receive.
Thanks for the comment!
Yes, gloss maps only. You are right about the specular colour maps, unfortunately in a deferred shading engine it is not easy to support them as you would need lots of space in g-buffer.
Regarding the energy conservation, maybe I got mixed up by this old-ish Siggraph presentation: http://www0.cs.ucl.ac.uk/staff/j.kautz/GameCourse/04_PointLights.pdf (page 82)
To be honest I didn’t see it mentioned in more recent PBR talks so maybe it is old info indeed.
Yeah, supporting full specular color in deferred is hard. I think many people get away with a monochrome specular color. It doesn’t allow you to do gold and copper (unless you have a separate forward shading path for them) but you can do just about anything else. BTW, I was wrong in my previous comment to say you could turn off specular by painting the color black – the Fresnel will still lerp it to white at glancing angles. So I guess you do need some sort of hack with either the spec color or gloss, if you want to be able to get rid of spec altogether.
I would be very interested in a “tradionnal” artist list of complaint when going pbr,
With the hope that I could can adress most of them beforehand and win the fight…
Good question, it would be nice if someone made a survey about that sometime.
From my experience it is the lack of control on the specular (specular intensity maps mainly), parameterising Fresnel with specular colour and spectral vs monochrome specular material colours. Also the fact that you have to author the albedo textures in a specific manner (no lighting, mid level intensity), but they can adapt to that. Tonemapping operators with unintuitive controls is another.
It is a matter of education more than anything I believe and giving them the opportunity to realise that PBR can work better in most cases. At least this is what I saw with the above “educational” shader.
[…] the BlinnPhong BRDF model with demonstration of the impact of each term and sample source code in this blog post (shameless […]
There is an update available on the textures used in this post as well, for those interested.
Get it here: http://kay-vriend.blogspot.nl/2014/02/slate-tiles-ii.html